Ingredients
Method
1.Chop cold butter. Sift flour into large bowl, rub in butter until crumbly. Mix in enough of the water to make ingredients just come together. Knead dough lightly on floured surface until smooth. Flatten pastry slightly, wrap in plastic wrap; refrigerate 30 minutes.
2.Grease eight 8cm (3¼-inch) round loose-based fluted flan pans. Divide pastry into eight equal portions. Roll out each portion on floured surface or between sheets of baking paper until large enough to line pans.
3.Lift pastry into pans, press over bases and sides, trim excess pastry. Prick bases all over with fork, place pans on oven tray, refrigerate 30 minutes.
4.Preheat oven to 200°C (180°C fan forced).
5.Line pastry with baking paper, fill with dried beans or rice. Bake, on oven tray, 15 minutes, remove paper and beans. Bake a further 10 minutes or until browned lightly and crisp.
6.Meanwhile, combine milk and coffee in medium saucepan, bring to the boil, remove from heat.
7.Whisk egg yolks, sugar and cornflour in medium heatproof bowl until combined, gradually whisk in hot milk mixture. Strain into same pan. Whisk over high heat until mixture boils and thickens. Remove from heat, spoon into tart shells. Refrigerate until cold.
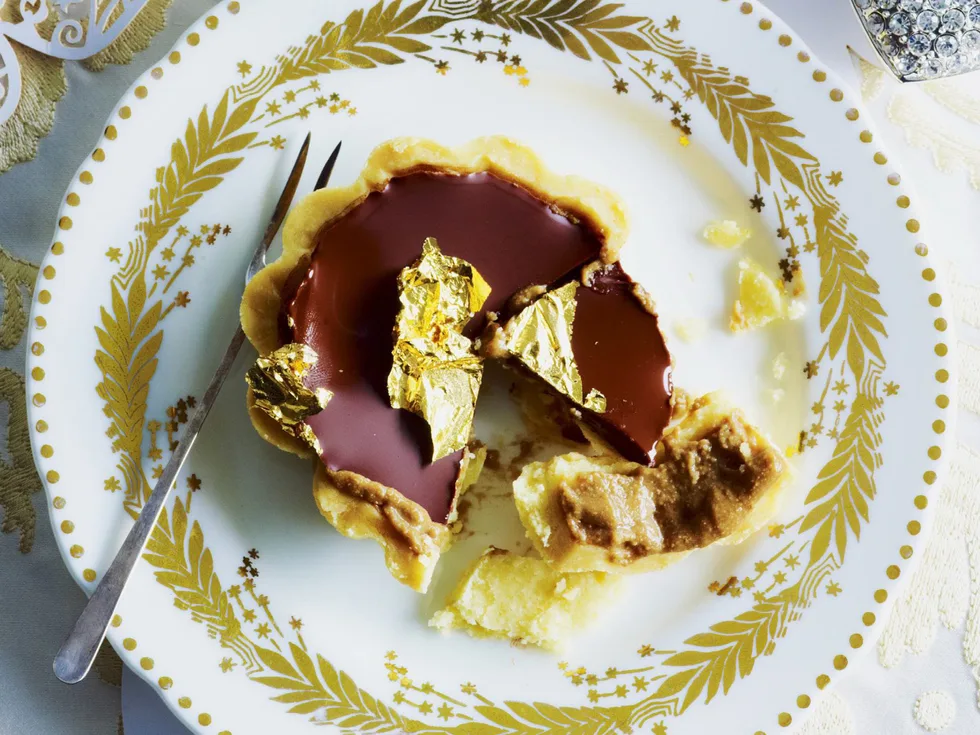
8.Break chocolate into small heatproof bowl, add oil. Place bowl over small saucepan of simmering water (don’t let water touch base of bowl); stir until chocolate mixture is smooth. Pour chocolate mixture over cold tarts. Stand at room temperature until set. Decorate with gold leaf just before serving.
You can also make the pastry using a food processor. Process flour and butter until crumbly, with motor operating, add the water and process until ingredients just come together. Or you can use ready-made shortcrust pastry. Edible gold leaf is available at specialty food shops. Use tweezers (not your fingers, as it will stick) to position it just before serving.
Note
